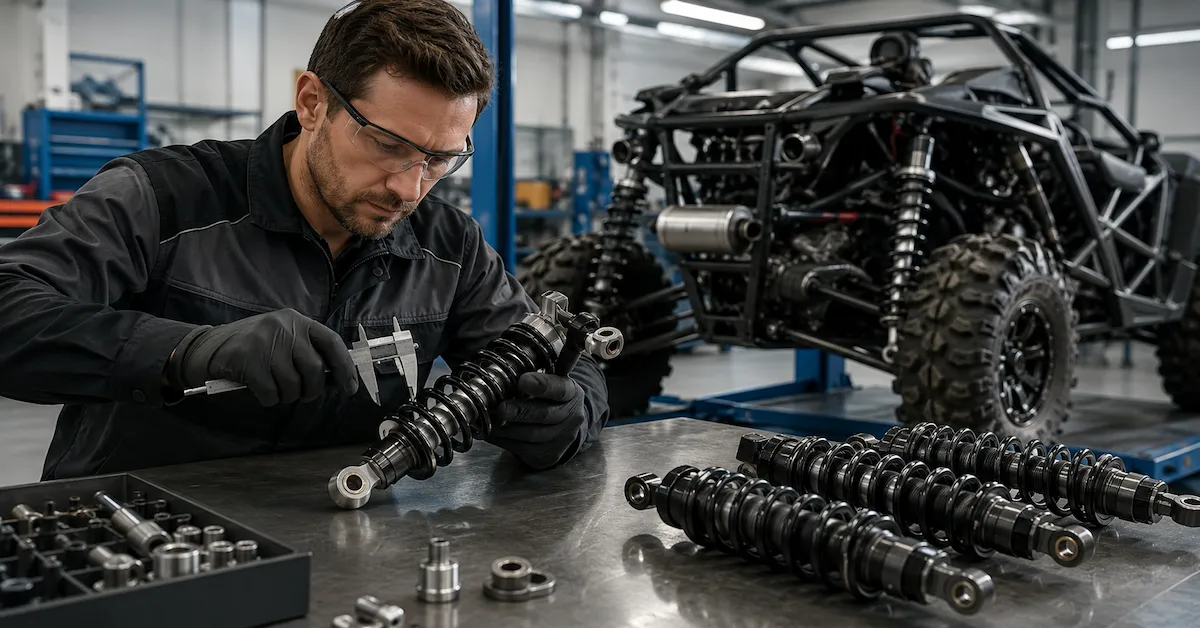

Understanding how to measure a shock absorber is the first step toward accurate OEM development. A shock may look compatible with a motorcycle, ATV, UTV, snowmobile, or specialty vehicle, yet still fail because its compressed length, stroke, mounting width, spring rate, or damping characteristics are incorrect.
For B2B buyers, incomplete measurements often lead to repeated samples, installation interference, higher tooling costs, delayed production, and avoidable warranty risks. A reliable measurement package should combine dimensions, photographs, vehicle information, load conditions, and target performance.
Bedo Auto supports custom shock absorber and suspension spring development based on samples, drawings, technical parameters, and application requirements. Buyers can review available products through the Bedo Auto Products page.
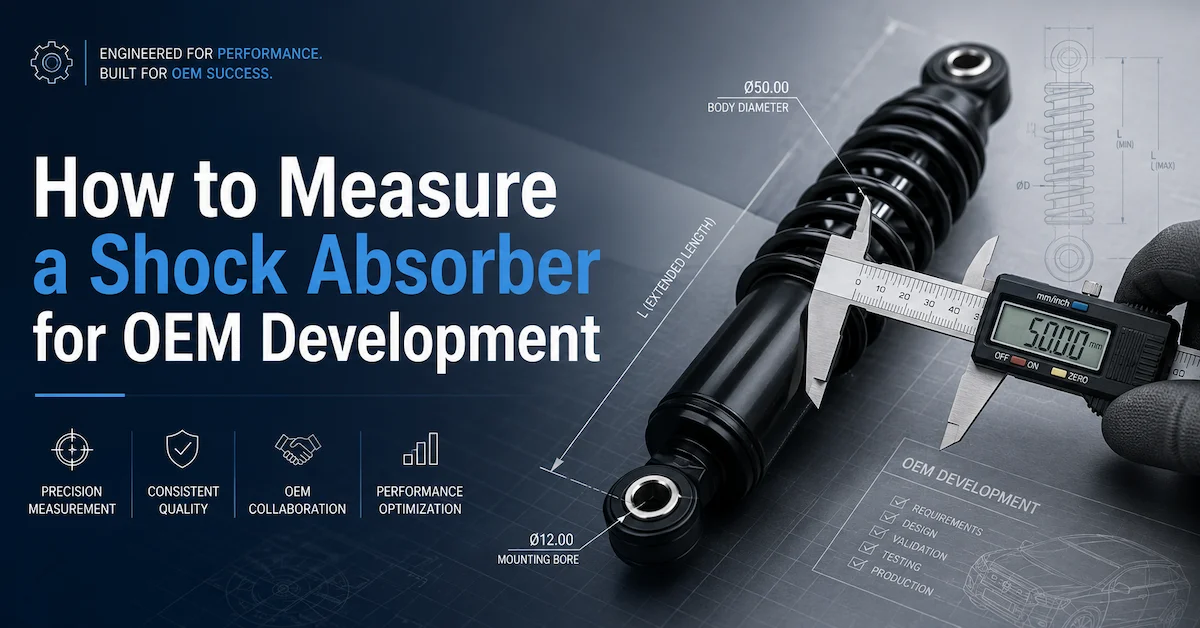
Quick Answer: What Should Buyers Measure?
When buyers ask how to measure a shock absorber for an OEM quotation, the minimum information should include:
| Measurement | Why It Matters |
|---|---|
| Extended length | Defines the maximum shock length |
| Compressed length | Confirms clearance at full compression |
| Effective stroke | Defines shock movement |
| Upper and lower mounting types | Confirms connection structure |
| Mounting-hole diameter | Ensures bolt compatibility |
| Mounting width | Prevents loose or incorrect installation |
| Shock-body diameter | Confirms available installation space |
| Piston-rod diameter | Provides a structural reference |
| Spring dimensions | Supports spring analysis and fitment |
| Reservoir dimensions | Prevents installation interference |
| Installation angle | Helps evaluate motion and side loading |
Dimensions alone do not define final suspension performance. Vehicle weight, payload, spring rate, damping force, terrain, and suspension geometry must also be considered.
Prepare the Product Before Measuring
Clean the shock absorber and place it on a stable workbench. Remove mud, oil, and loose debris so that the mounting points and spring structure are clearly visible.
Recommended tools include:
- Digital caliper
- Steel ruler
- Measuring tape
- Depth gauge
- Camera
- Measurement form
- Marker labels
Before recording dimensions, inspect the sample for:
- Bent piston rods
- Damaged mounting eyes
- Worn bushings
- Oil leakage
- Missing sleeves
- Collapsed springs
- Damaged threads
- External bump stops
A damaged sample may still be useful, but every defect should be identified because wear can change the measured dimensions.
Step 1: Identify the Mounting Structure
Common mounting structures include:
- Eye-to-eye
- Eye-to-clevis
- Eye-to-stem
- Clevis-to-clevis
- Stem-to-eye
- Custom bracket mounts
Photograph both mounting ends from several angles. Record the hole diameter, total width, inner sleeve width, bushing dimensions, thread size, and mounting orientation.
The upper and lower mounts should be measured separately because they may use different dimensions.
Step 2: Measure the Extended Length
The extended length is the maximum overall length when the shock absorber is fully extended.
For an eye-to-eye shock, measure from the center of the upper mounting hole to the center of the lower mounting hole.
Do not measure from:
- The outside edge of one eye to the other
- The top of the shock body to the lower eye
- One bushing edge to another
- The spring seat to the rod end
When learning how to measure a shock absorber, consistent reference points are essential. The same centerlines or defined datums must be used for both extended and compressed measurements.
For a shock with adjustable length, also record:
- Minimum extended length
- Maximum extended length
- Adjustment range
- Thread engagement
- Current reference position
Step 3: Measure the Compressed Length
Compressed length is the minimum distance between the same reference points when the shock reaches full compression.
This measurement helps prevent:
- Tire or frame interference
- Shock-body damage
- Mounting-bracket damage
- Reduced wheel travel
- Mechanical bottoming
- Excessive piston-rod loading
Do not force a gas-charged shock closed with unsafe equipment. When full compression cannot be measured safely, send the physical sample or provide a technical drawing and vehicle geometry.
Also inspect whether movement is limited by:
- Internal bump stops
- External bump stops
- Spring coil bind
- Reservoir interference
- Hose interference
- Vehicle linkage
Step 4: Confirm the Effective Stroke
Nominal stroke is often calculated as:
Extended length − compressed length
For example:
| Measurement | Value |
|---|---|
| Extended length | 350 mm |
| Compressed length | 250 mm |
| Nominal stroke | 100 mm |
However, nominal stroke may not equal usable stroke. Internal stops, seal-head clearance, spring coil bind, and vehicle geometry may reduce actual movement.
Buyers should distinguish between:
- Shock stroke
- Usable shock stroke
- Wheel travel
On motorcycles, ATVs, and UTVs, linkage and control-arm geometry often create a motion ratio, so wheel travel may be greater than shock travel.
Step 5: Measure the Mounting-Hole Diameter
Use a digital caliper to measure the internal diameter of the metal mounting sleeve.
Record:
- Upper hole diameter
- Lower hole diameter
- Sleeve inside diameter
- Sleeve outside diameter
- Bolt diameter
- Whether the sleeve is removable
Avoid measuring only the rubber bushing. A worn or deformed sleeve should also be identified before the measurement is used for development.
Step 6: Measure the Mounting Width
Measure the width of each mounting point where it fits inside the vehicle bracket.
Record:
- Total mounting width
- Inner sleeve width
- Bushing width
- Spacer thickness
- Clevis inner width
- Clevis outer width
- Clevis-leg thickness
For clevis mounts, record the hole center position and the orientation relative to the upper mount.
A correct eye-to-eye length does not guarantee correct fitment if the mounting width is wrong.
Step 7: Record Orientation and Offset
Some shock absorbers have upper and lower mounts that are rotated or offset.
Photograph and record:
- Rotational relationship between mounts
- Lower-mount offset
- Reservoir direction
- Adjuster direction
- Hose exit direction
- Left- and right-side differences
Incorrect orientation may cause frame contact, reservoir interference, hose damage, or difficult adjustment access.
Step 8: Measure the Shock Body and Piston Rod
Important structural dimensions include:
| Component | Measurement |
|---|---|
| Shock body | Outside diameter and body length |
| Piston rod | Diameter and exposed length |
| Threaded preload section | Diameter, pitch, and usable length |
| Spring seat | Outside diameter and thickness |
| Reservoir | Diameter, length, and position |
| Reservoir hose | Length and fitting direction |
A larger shock body may provide additional oil capacity, but it may also create installation-clearance problems.
Step 9: Measure the Coil Spring
Record:
- Free length
- Outside diameter
- Inside diameter
- Wire diameter
- Total coil count
- Active coil count
- End shape
- Installed preload
- Adjustment range
- Spring markings
Do not estimate spring rate from color or appearance. Two springs with similar dimensions can have different materials, active coil counts, heat treatments, and load characteristics.
For accurate spring development, also provide:
- Vehicle weight
- Rider or driver weight
- Passenger load
- Cargo load
- Desired sag
- Current suspension problem
- Target performance
Step 10: Record Preload and Adjustment Settings
Before changing the sample, record the original setup.
For preload, note:
- Collar position
- Visible thread count
- Distance from the collar to a fixed reference
- Minimum and maximum adjustment range
For adjustable damping, note:
- Rebound clicks
- Compression clicks
- High-speed compression position
- Low-speed compression position
- Length-adjustment position
A useful adjustment system should provide repeatable and measurable changes rather than only a large number of settings.
Step 11: Measure the Installation Space
Vehicle measurements are as important as product measurements.
Inspect clearance at:
- Normal ride height
- Full extension
- Full compression
- Loaded condition
- Unloaded condition
- Maximum steering angle where applicable
Check the shock and reservoir against:
- Frame
- Swingarm
- Control arm
- Tire
- Wheel
- Chain
- Drive shaft
- Exhaust
- Brake components
- Battery box
- Cargo structure
- Body panels
A complete guide on how to measure a shock absorber must include the vehicle installation envelope, because a dimensionally correct sample may still interfere with surrounding components.
Dimensions Alone Cannot Define Performance
Two shocks can share the same extended length, compressed length, stroke, and mounting dimensions while delivering completely different suspension behavior.
Performance is also affected by:
- Spring rate
- Spring preload
- Compression damping
- Rebound damping
- Piston diameter
- Valve design
- Oil specification
- Gas pressure
- Seal friction
- Operating temperature
Buyers should state whether the target product should:
- Match the original performance
- Increase load support
- Reduce bottoming
- Improve comfort
- Improve off-road control
- Add damping adjustment
- Support a heavier electric vehicle
- Create a premium aftermarket version
What Vehicle Information Should Be Provided?
A complete OEM inquiry should include:
Vehicle Data
- Vehicle type and model
- Model year
- Front or rear installation
- Vehicle curb weight
- Maximum loaded weight
Load Data
- Rider or driver weight
- Passenger load
- Cargo weight
- Battery weight
- Added accessories
- Towing or utility load
Operating Conditions
- Paved roads
- Mountain roads
- Rocks
- Mud
- Sand
- Snow
- Racing
- Commercial duty
- Long-distance operation
Current Suspension Problems
- Excessive sag
- Frequent bottoming
- Harshness
- Excessive bouncing
- Slow rebound
- Leakage
- Overheating
- Insufficient travel
- Mounting failure
Common Measurement Mistakes
Measuring Outside-to-Outside Length
This creates an inconsistent reference. Use mounting-hole centerlines or clearly defined datums.
Measuring Only Extended Length
Extended length does not confirm compressed clearance or stroke.
Treating Shock Stroke as Wheel Travel
Suspension geometry may multiply or reduce movement.
Ignoring Mounting Width
A shock can have the correct length but still fail to fit the vehicle bracket.
Sending Photographs Without Dimensions
Photographs help identify the structure but cannot replace a drawing or measurement sheet.
Measuring a Worn Sample Without Explanation
Damaged bushings, bent rods, and deformed mounts may produce inaccurate results.
Rounding Values Too Early
Record the actual measured dimension before converting or rounding it.
Recommended OEM Measurement Checklist
Buyers researching how to measure a shock absorber should complete this checklist before requesting a final quotation:
| Required Item | Status |
|---|---|
| Vehicle model and application | □ |
| Installation position | □ |
| Extended length | □ |
| Compressed length | □ |
| Effective stroke | □ |
| Upper and lower mounting types | □ |
| Mounting-hole diameters | □ |
| Mounting widths | □ |
| Shock-body diameter | □ |
| Piston-rod diameter | □ |
| Spring dimensions | □ |
| Reservoir position | □ |
| Adjustment settings | □ |
| Vehicle weight and payload | □ |
| Terrain and operating conditions | □ |
| Current suspension problem | □ |
| Target performance | □ |
| Estimated order quantity | □ |
| Product photographs | □ |
| Drawing or sample | □ |
Sample, Drawing, or Measurement Sheet?
| Input | Main Advantage | Limitation |
|---|---|---|
| Photographs | Fast structural reference | Insufficient for precise development |
| Measurement sheet | Provides key dimensions | May miss hidden internal details |
| Technical drawing | Defines tolerances | May not describe actual performance |
| Physical sample | Supports detailed analysis | Wear may affect accuracy |
| Vehicle data | Explains application | Does not define dimensions |
| Complete combination | Highest accuracy | Requires more preparation |
The most reliable development package combines a sample, drawing, measurement sheet, vehicle information, and performance target.
Why Prototype Testing Is Still Required
Even accurate measurements cannot replace prototype validation.
The first sample should be checked for:
- Installation fitment
- Mounting alignment
- Full-extension clearance
- Full-compression clearance
- Shock travel
- Spring support
- Ride height
- Compression behavior
- Rebound recovery
- Reservoir clearance
- Adjustment access
- Surface finish
After prototype approval, a pilot batch helps verify dimensional, damping, spring, sealing, and appearance consistency.
How Bedo Auto Supports OEM Shock Development
Bedo Auto supports custom shock absorbers and suspension springs for motorcycles, electric motorcycles, ATV, UTV, snowmobiles, beach buggies, and specialty vehicles.
Project support can include:
- Sample inspection
- Drawing review
- Measurement confirmation
- Mounting analysis
- Spring-rate development
- Compression and rebound adjustment
- Reservoir configuration
- Prototype production
- Small-batch validation
- OEM and ODM branding
- Customized packaging
- Repeat production
Buyers can review the Bedo Auto product range, learn more through the About Bedo Auto page, or submit samples, drawings, and project specifications through the Contact Us page.
FAQ
Can a shock absorber be measured without removing it?
Some dimensions can be estimated on the vehicle, but removal usually provides more accurate access to the mounting centers, body, spring, and compressed-length reference.
Is extended length minus compressed length always the usable stroke?
No. Internal bump stops, external stops, seal-head clearance, spring coil bind, and vehicle geometry may reduce usable movement.
Can a manufacturer develop a shock from photographs?
Photographs help identify the structure, but accurate development normally requires dimensions, drawings, vehicle data, or a physical sample.
Why are vehicle weight and payload required?
Weight and payload influence spring rate, preload, compression damping, rebound damping, ride height, and bottoming resistance.
Can Bedo Auto develop products from customer samples?
Bedo Auto supports sample-based and drawing-based development according to vehicle information, technical requirements, and purchasing plans.
Conclusion
Understanding how to measure a shock absorber is the first step toward accurate OEM development, but dimensions alone do not define a successful suspension product.
Extended length, compressed length, stroke, mounting width, hole diameter, spring dimensions, installation angle, vehicle load, suspension geometry, compression damping, and rebound damping must be evaluated together.
A complete measurement sheet, clear photographs, vehicle information, and a physical sample can reduce development errors and help the manufacturer produce a more accurate prototype.
Through sample analysis, drawing review, spring and damping development, prototype testing, and small-batch validation, Bedo Auto helps global B2B buyers develop customized shock absorber solutions with reliable fitment and repeatable production.